I’ve had a lot of fun working with Unreal engines in the past so I hopped at a chance to try out their latest Unreal Engine 4. Now it costs 15 dollars a month rather than their past versions which were free, but they’re definitely not wasting it. It’s incredibly easy to use, lots of documentation, wiki and marketplace, plenty of updates, plus an incredible transparency to what they’re working on.
I created a small scene to test out their vertex painting, decals, lighting, and the new PBR materials. There are already some much better tutorials on this so I’ll just be sharing some tips and overviews of these features.
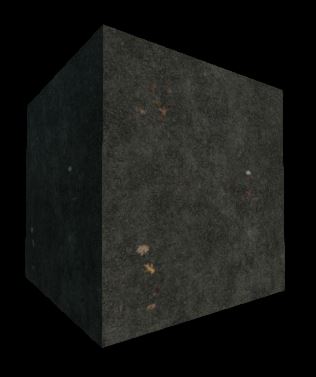
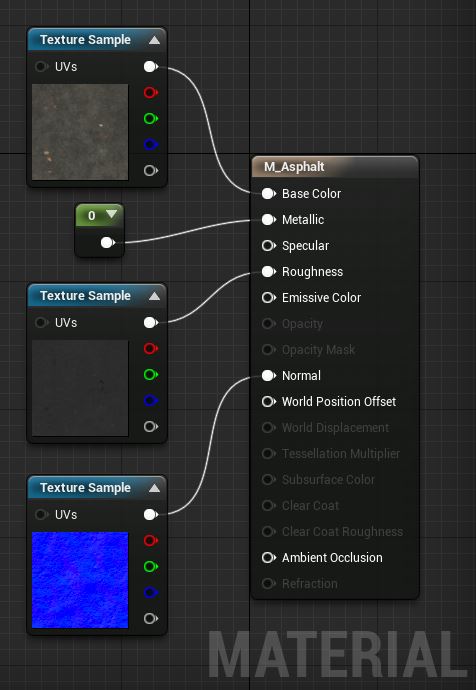
PBR materials: PBR or Physically Based Rendering materials look great but you’ll have to make textures slightly different than before. I took a look at GameTextures.com because they made a ton of them and were handing some out for free. They made an easy to follow tutorial on how to create these materials. The asphalt material is very basic and shows the bare essentials of what you'll need. Unreal still gives you the option to use specular maps.
Reference sheet for PBR material values:

Substance Designer has built in UE4 functionality so you can bring the materials you make right into Unreal and edit all of its variables in the editor.
For those who have not worked with Unreal in the past you can make very inexpensive instances of your materials which your edits appear instantly in the editor. I used this one for the shutter door.

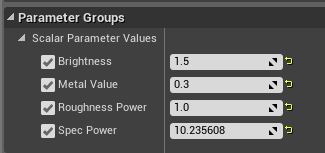
The materiel instance parameters
This is the master material it's instancing. These are the parameters I've placed so I could change them on certain objects that are sharing these textures. It's common to create a basic master material where everything in it is a changeable parameter but I didn't need that for such a small scene.

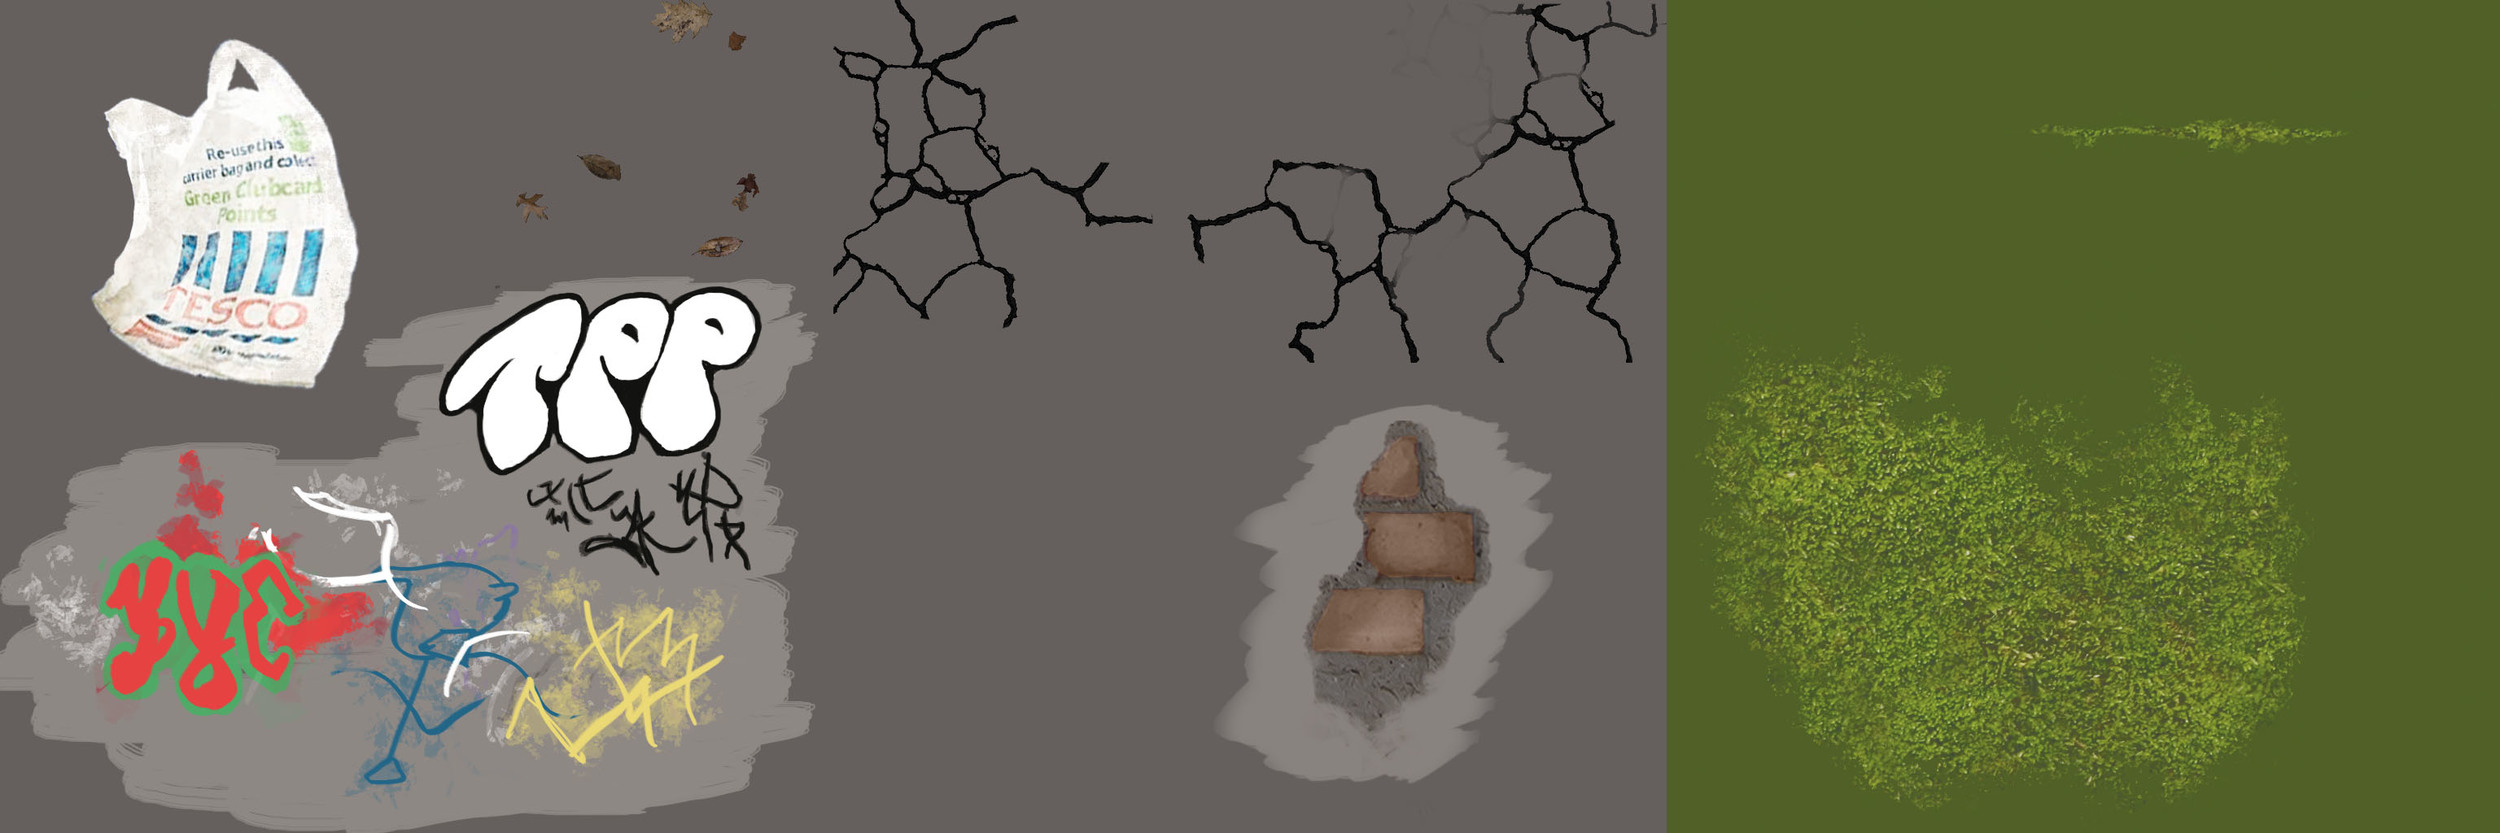
Prop Vertex Painting:
You can make materials that can handle up to 6 different paintable materials within it, but I’ve never needed anything near that high except when working with terrain.
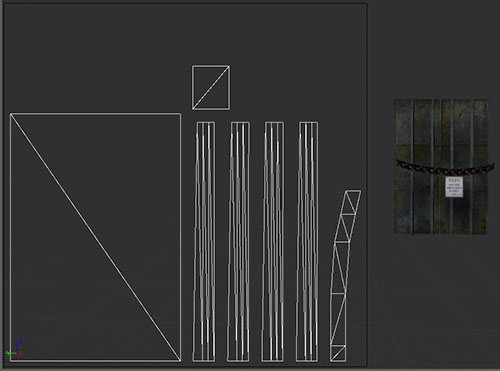
I made sure I had a few verts to work with but nothing crazy since they’re just flat walls.
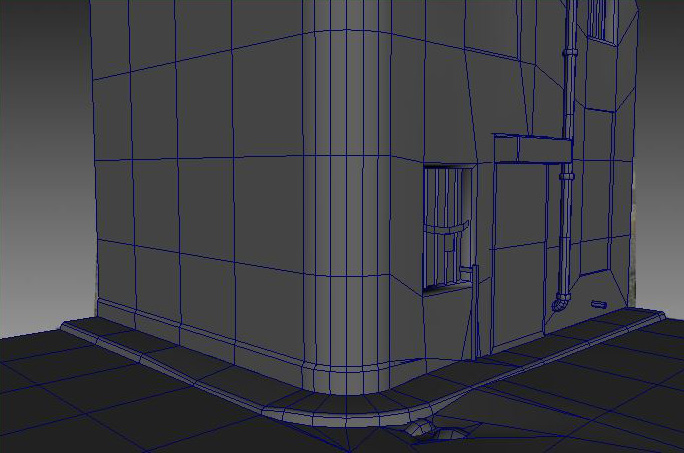
If you plan on making any of your own meshes you will need to make a secondary UV set for Unreal’s light map generation. Make sure that there is no overlap, fits within 0-1, and slight padding between UV shells.
Here’s how to set up a 3 material blend shader.

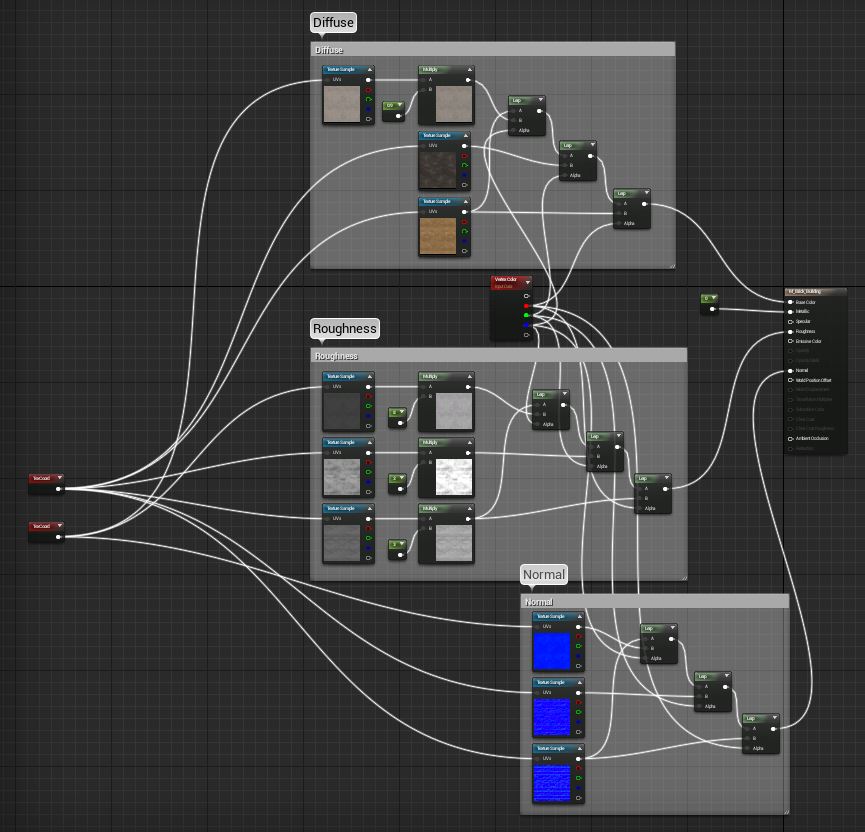
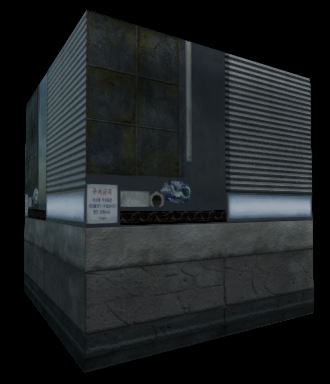
This is what I used for the building.
Now I can paint Brick (Red channel), Worn Brick (Green), and Plaster (Blue) onto the building.


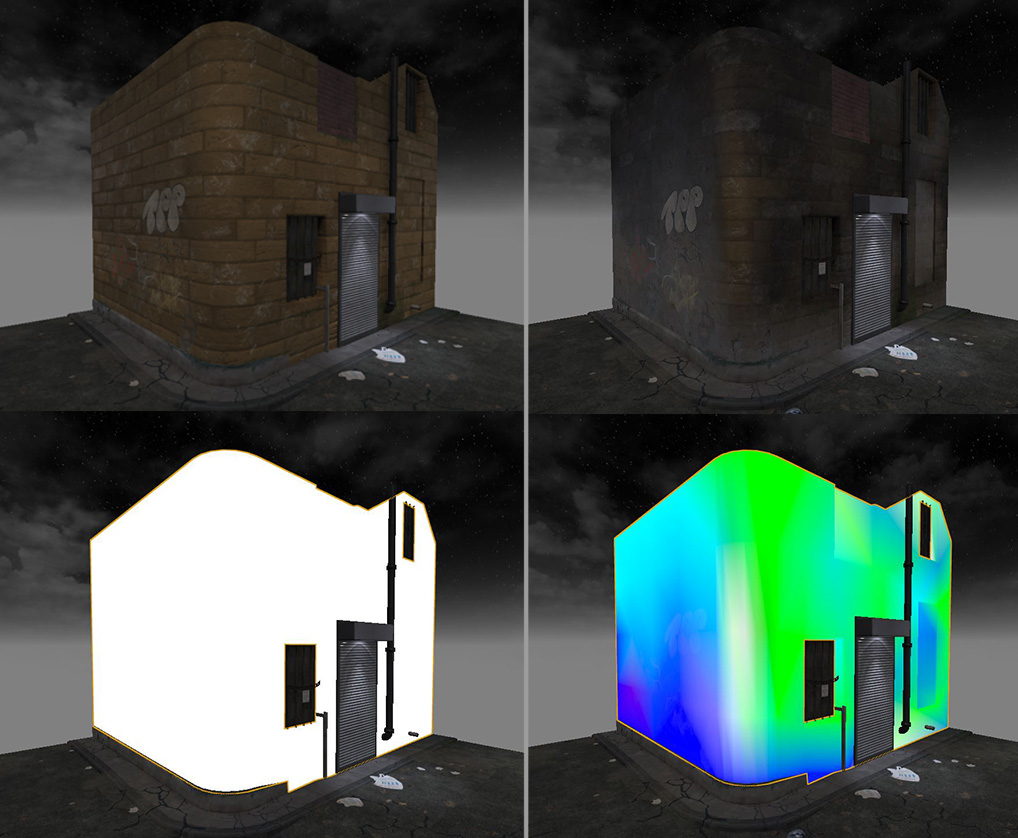
The Red channel is showing up as the White (Alpha) channel.
Lighting:
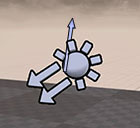
For the skybox I changed it to a night sky by rotating the skylight to where it pointed up.
I wanted to keep the skybox monochromatic so I edited the overriding settings on the skybox sphere.

I added a directional light for fill lighting, omnis for highlighting, and a few spotlights with light masks around the building


Light masks are great for adding detail to a scene, even when used slightly.
I added color grading with a LUT I got from Tom Shannon to the post processing volume.


Without and with the color grading
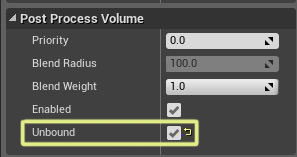
I usually create a base Post Processing Volume that affects everything. To do that you just need to check 'Unbound' in it's properties.
Decals:
The decals are very simple to make but I was getting some major bugs with my masked decals. They seem to disappear when not lit within a certain value. In my scene that meant I had to keep the lighting somewhat flat and the decals on the left side were still disappearing so I added a very slight emissive to the material. This is a known issue but it looks like it’s not an easy fix and might take a while before this issue is resolved.
Conclusion:
It’s missing some functionality you might expect in current game engines like drag selecting in perspective view and bugs on highly used features, but with how quickly Epic is updating combined with it’s very large foundation it has far more potential than it’s competitors. Though one major thing to note is that this engine is not for the weakest of computers. I can always tell when I leave UE4 on a computer because the fans sound like they’re about to blast off and my video card/motherboard died on my laptop while I was working on the project you’ll see in my next post.
My next post will go over their Landscape tools and how to build modularly for UE4 after they changed their unit size.